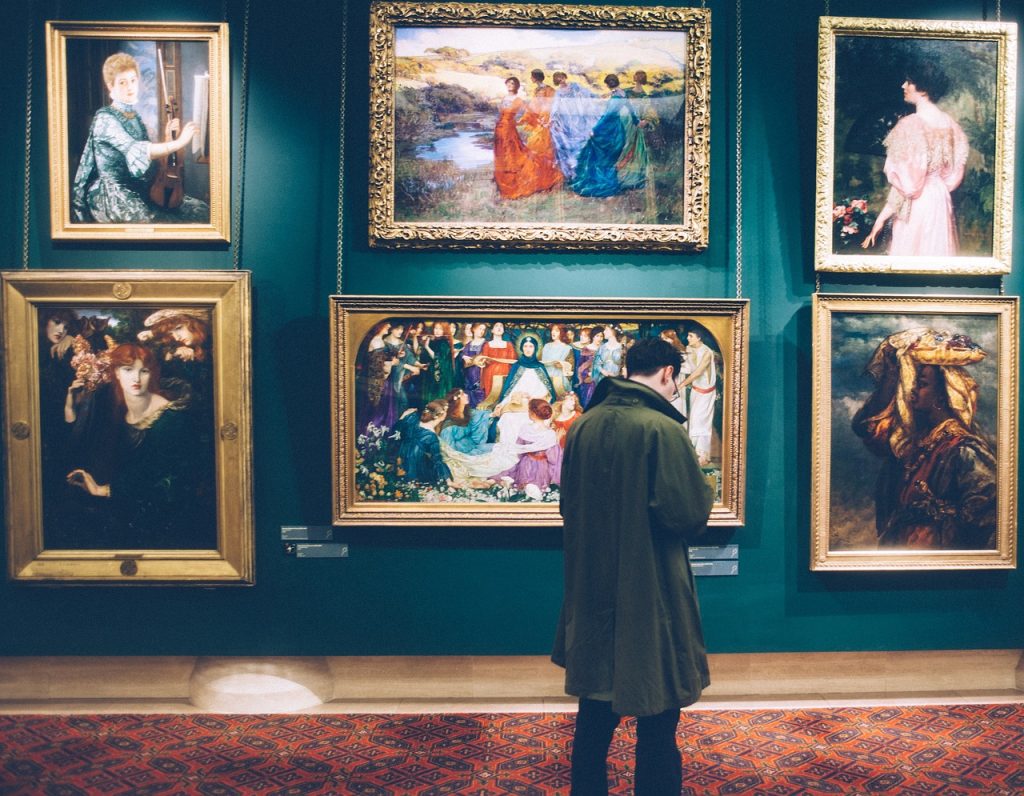
Creating an art gallery in your home doesn’t mean you need to be an expert in interior design or have a large budget. In fact, the beauty of a home art gallery lies in its simplicity and personalization. Whether you’re a homeowner looking to elevate your living space or a renter wanting to add character without making permanent changes, a simple art gallery can transform any wall into a stunning focal point. It’s a creative way to express your personality, showcase your favorite pieces, and make your home feel more inviting and alive.
Art has the power to tell stories, evoke emotions, and reflect who we are. A well-curated art display allows you to do just that—share your story with anyone who walks into your space. The best part? You don’t need to buy expensive artwork or hire a professional to create one. With a little planning, some creativity, and a few basic tools, you can design a beautiful and meaningful art gallery right in your own home. This guide will walk you through everything you need to know to start building your very own home art gallery, from choosing the right pieces to arranging them with style.
In this blog post, we’ll break down the process into easy-to-follow steps so you can confidently create a gallery that reflects your taste and enhances your home’s aesthetic. We’ll cover how to select artwork that speaks to you, how to arrange it in a visually pleasing way, and how to add finishing touches that bring your gallery to life. Whether you’re starting from scratch or updating an existing arrangement, this guide is designed to inspire and empower you to create something truly special.

1. Choose a Theme or Style
Before hanging anything on the wall, take a moment to think about what kind of art you want to display. Do you love modern abstracts, classic landscapes, or bold photography? Choosing a theme or style helps ensure your gallery feels cohesive and intentional. For example, if you love nature, you might focus on botanical prints or scenic photos. If you prefer minimalism, black-and-white art, or clean lines could be the way to go.
Your theme also sets the tone for the rest of your room. A consistent style helps tie your space together and makes the gallery feel like a natural extension of your decor. Don’t worry if you’re not sure where to start—start by browsing online galleries, visiting local art stores, or even exploring free printable art options. Once you find a few pieces that resonate with you, you’ll get a better sense of what direction to take.
2. Select Your Artwork
Now that you have a theme in mind, it’s time to choose the actual artwork. You don’t need to spend a fortune—many affordable options exist, including prints, digital downloads, vintage finds, and even DIY projects. Look for pieces that speak to you emotionally and visually. When selecting your art, consider the size, color, and texture of each piece to ensure they work well together.
If you’re new to collecting art, start small. Pick out three to five pieces to begin with. These can include framed photos, posters, or even fabric panels. As you become more comfortable, you can gradually add more pieces over time. Remember, the goal is to create a gallery that feels personal and meaningful—not perfect. So don’t stress too much about matching every detail; instead, focus on creating a collection that reflects your unique style.
3. Gather Your Supplies
Once you’ve chosen your artwork, gather the supplies you’ll need to hang it. At a minimum, you’ll need picture frames (if your art isn’t already framed), a level, measuring tape, and some wall anchors or nails. If you’re renting, consider using removable adhesive strips or command hooks to avoid damaging the walls. These tools allow you to experiment with different arrangements without leaving holes or marks.
You may also want to invest in a few decorative elements like floating shelves, canvas boards, or shadow boxes to display your art in interesting ways. These accessories can help add depth and dimension to your gallery while keeping it organized and stylish. The key is to keep things simple and functional, so choose supplies that are easy to use and won’t overwhelm your space.

4. Plan Your Layout
Before hanging anything, sketch out a rough layout of how you want your art to look on the wall. Use painter’s tape or paper cutouts to mark where each piece will go. This step is crucial because once you start hanging, it can be hard to change your mind later. Try different arrangements until you find one that looks balanced and appealing.
A popular method is the “asymmetrical grid,” where you place larger pieces at the center and smaller ones around them. Another option is the “clustered” style, which groups similar-sized pieces closely together. Whichever layout you choose, aim for visual balance by distributing colors and sizes evenly across the wall. Also, make sure there’s enough space between each piece to prevent the wall from feeling cluttered.
5. Hang Your Art
Now comes the fun part—hanging your art! Start by marking the center point of the wall where your main piece will go. Then, use a level to ensure each frame is straight as you hang it. If you’re working with multiple pieces, alternate their heights slightly to create a dynamic and engaging display. Avoid hanging all the frames at the same height, as this can make the gallery look flat and boring.
For a more relaxed and organic look, try varying the spacing between frames. Some people like to leave a few inches between each piece, while others prefer a tighter cluster. Play around with different distances until you find a layout that feels just right. If you’re unsure, take a step back and look at the wall from across the room—it will give you a better perspective on how everything looks together.
6. Add Lighting
Lighting plays a big role in how your art looks and feels. Proper lighting can highlight your pieces and create a warm, inviting atmosphere. Consider adding small LED strip lights behind your frames or under shelves to illuminate your art. Wall sconces or picture lights are also great options for drawing attention to specific pieces.
If you’re not ready to install permanent lighting, you can use lamps placed strategically near your gallery. A table lamp or floor lamp positioned nearby can provide soft, ambient light that enhances the overall mood. Just make sure the lighting is gentle enough not to cause glare or damage to your artwork over time.
7. Incorporate Decorative Elements
To add interest and variety to your gallery, consider incorporating other decorative elements like mirrors, clocks, or sculptures. These items can complement your art and add a touch of elegance to your space. Mirrors are especially useful because they reflect light and make the room feel larger. Clocks are both functional and stylish, while sculptures or vases can serve as eye-catching accents.
When mixing different types of decor, maintain a consistent color scheme and style to keep your gallery looking cohesive. For example, if your art is minimalist, choose sleek and modern decor pieces. If your art is more colorful or eclectic, feel free to mix in bolder textures and patterns. The key is to strike a balance between variety and harmony.

8. Personalize Your Space
One of the most rewarding aspects of creating a home art gallery is the opportunity to personalize it. Display family photos, travel souvenirs, or handmade crafts alongside your artwork to make the space uniquely yours. These personal touches add warmth and authenticity to your gallery and make it feel more like home.
Don’t be afraid to rotate your pieces seasonally or when your tastes change. A home art gallery should evolve with you, reflecting your journey and growth. Whether you’re showcasing a recent trip, celebrating a milestone, or simply expressing your current mood, let your gallery be a true reflection of who you are.
9. Keep It Simple and Maintain It
The beauty of a simple art gallery is that it doesn’t need to be complicated to be beautiful. Resist the urge to overfill your wall with too many pieces. Less is often more when it comes to design. Stick to a few key pieces that you love and build from there. Over time, you can add more as your collection grows or your style evolves.
Also, remember to dust and clean your frames regularly to keep your gallery looking fresh and vibrant. Wipe down the glass with a soft cloth and check the hardware occasionally to ensure everything stays secure. A little maintenance goes a long way in preserving the beauty of your display and ensuring it remains a source of joy for years to come.
10. Enjoy the Process
Finally, remember that creating a home art gallery is about enjoying the process. It’s not about perfection—it’s about expression, creativity, and making your space feel like yours. Take your time, experiment with different ideas, and don’t be afraid to make mistakes. Each step you take brings you closer to a space that truly represents your personality and style.

As you work on your gallery, take pride in the fact that you’re transforming your home into something beautiful and meaningful. Whether you’re hanging your first piece or updating an existing arrangement, every effort counts. And most importantly, enjoy the satisfaction of knowing that your home now has a special corner that tells your story and makes you feel happy every time you see it.
Conclusion
Creating a simple art gallery in your home is a powerful and accessible way to express your personality, enhance your space, and make your home feel more inviting. By following these ten steps, you can design a gallery that reflects your taste, tells your story, and adds a touch of elegance to your living environment. From choosing the right theme to arranging your pieces with care, each step contributes to the overall charm and character of your space.
The beauty of a home art gallery lies in its simplicity and personalization. You don’t need to be an expert or have a large budget to create something beautiful. What matters most is that your gallery feels authentic and meaningful to you. Whether you’re a homeowner or a renter, a design enthusiast or a beginner, this project offers a wonderful opportunity to explore your creativity and make your home truly your own.
So, take the time to curate your collection, plan your layout, and add personal touches that make your space uniquely yours. Embrace the process, celebrate your progress, and enjoy the results. With a little effort and imagination, you can turn any blank wall into a stunning art gallery that inspires you and impresses your guests. Happy decorating!
